-
How to create Collage.
-
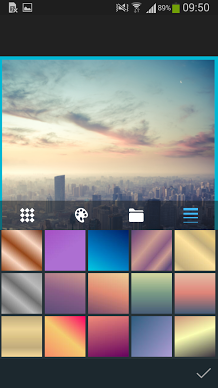
How to change the background.
To change the background tap Background icon
 at the
panel with tools.
at the
panel with tools.You will see 4 tabs right lower your photo:

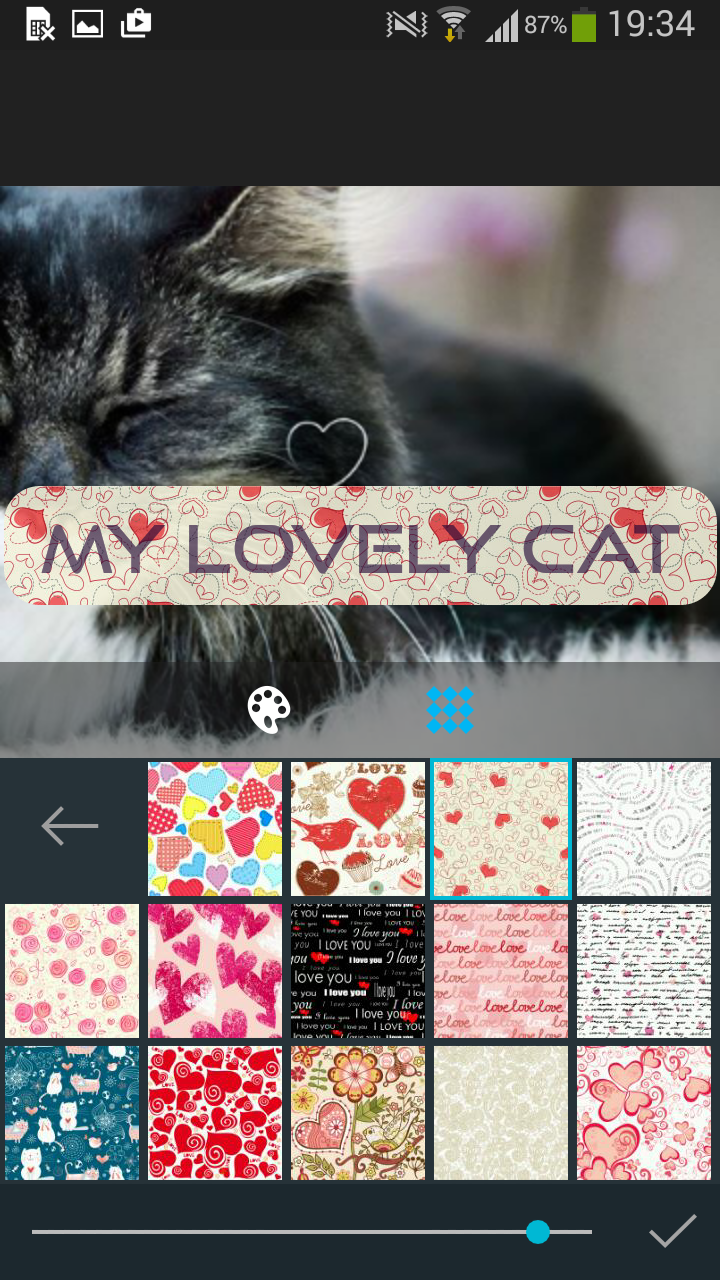
Use first tab to select textures for background.
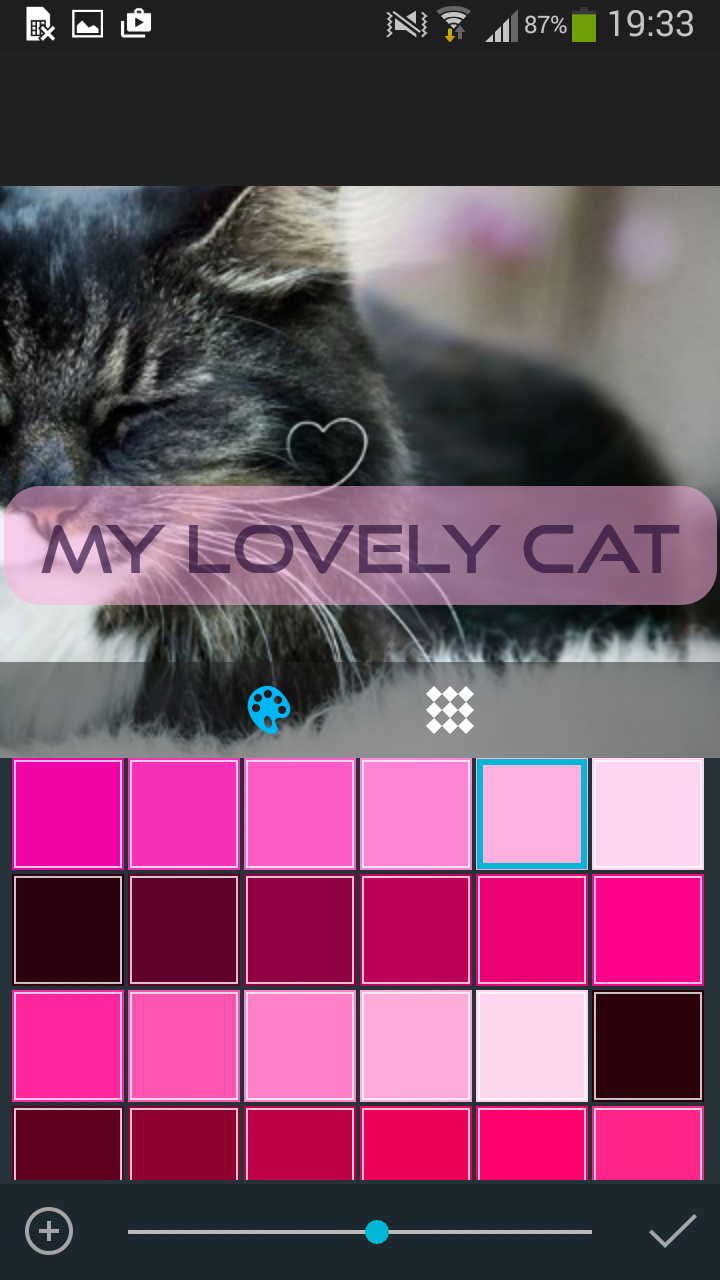
Use second tab to change the color of your background.
Use third tab to set high resolution themes or your own pictures for background.
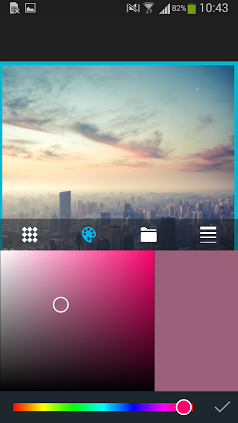
Use fourth tab to select gradient colors for your background.
Being at the first tab you can select colorful textures (Flower, Christmas, Holidays, Romantic, Glamour, etc.) as a background for your collage.

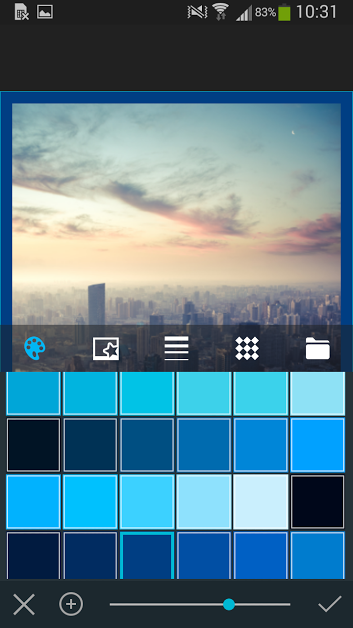
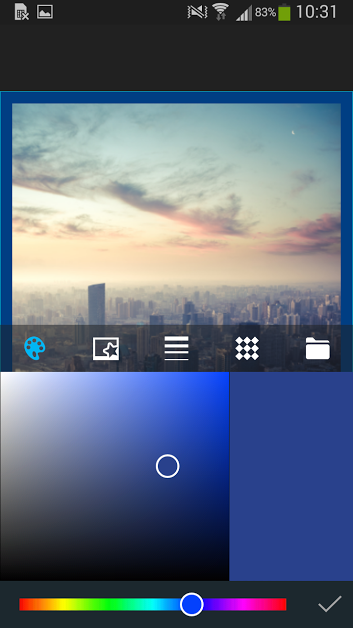
On the second tab you can select the color for your background from the color Palette.
You can also call the alternative Palette view if tap the add icon
 at
the left lower corner.
at
the left lower corner.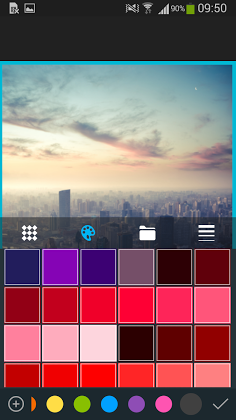
The third tab allows you to choose a background with various full screen high resolution themes - (Street, Kids, Winter, Cities, Flags, etc.) or to tap the folder icon
 and
select a photo from your Gallery to make it a background for your collage. Here you can
select any photo for background.
and
select a photo from your Gallery to make it a background for your collage. Here you can
select any photo for background.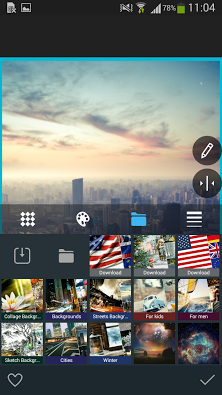
And finally on the fourth tab you can select gradient colors for your background.
Note! Don't forget to save your selection tapping the Apply button
 at
the right lower corner.
at
the right lower corner. -
How to select a photo from your Gallery for background.
Tap Background icon
at the panel with tools, select the fourth
tab with folder icon . Tap the folder icon next
to application backgrounds and browse through your Gallery folders to select a needed
picture for your background. Confirm your selection with the Apply button .
-
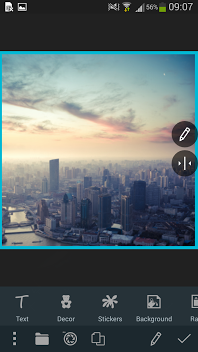
How to edit the background.
To edit the background tap on Pencil icon
 at the floating
panel. You will pass to the editing screen and will be able to apply some changes such as
Filters, Effects, Decor, Stickers, Text, etc.
at the floating
panel. You will pass to the editing screen and will be able to apply some changes such as
Filters, Effects, Decor, Stickers, Text, etc. -
How to border the background.
To border your background use the Border icon
 .
.There are 5 tabs with various modes for framing: Color
 , Frames
  , Gradient
Colors
, Gradient
Colors  , Textures
  and
Backgrounds .
and
Backgrounds .Once you choose Color tab you pass to the Palette screen. Look through the colors and select one at your discretion.
Move slider at the bottom of the screen to select the needed thickness of the border.

Save your selection tapping the Apply button
at the right lower
corner or discard changes choosing Delete button  at the left
lower corner.
at the left
lower corner.You can also call the alternative Palette view if tap the add icon
.
-
How to choose photos for Collage.
Tap on the folder icon
at the bottom of the screen and select
those photos from your Gallery you want to use in collage.Don't forget to press the Apply button
to confirm your
selection.You can select Camera button
 at the bottom of the screen and
make some photos for your collage.
at the bottom of the screen and
make some photos for your collage. -
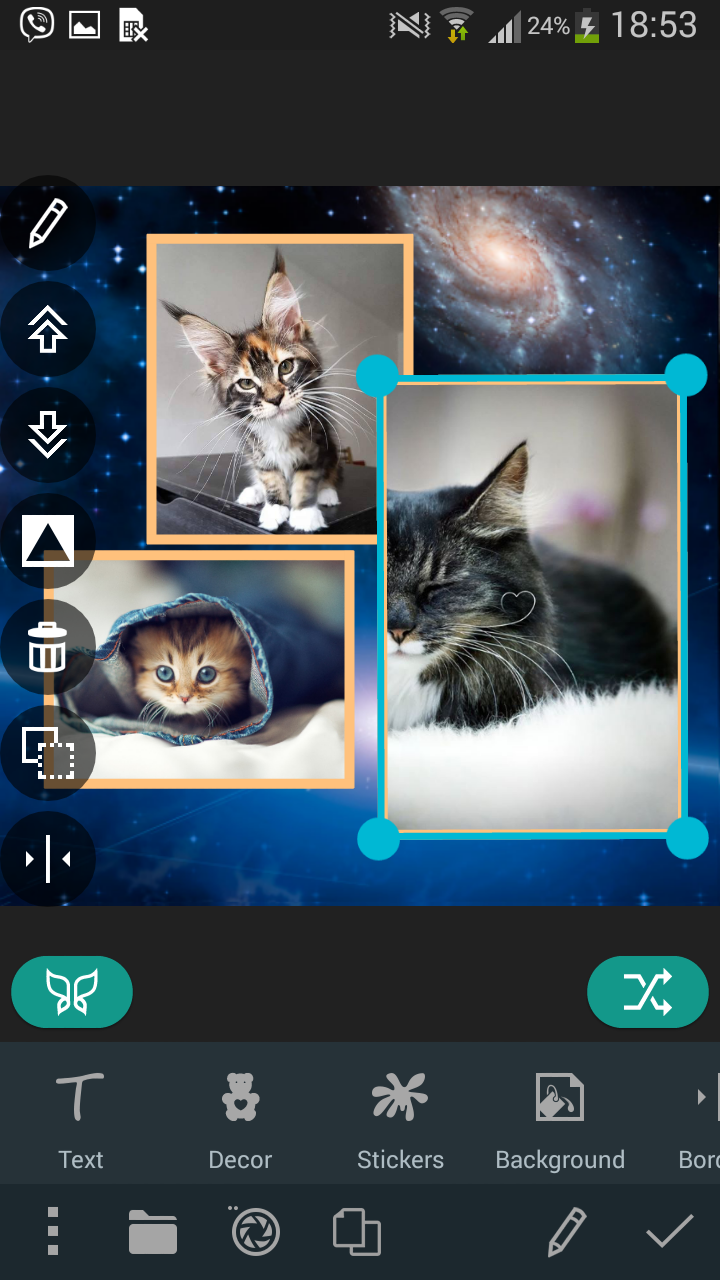
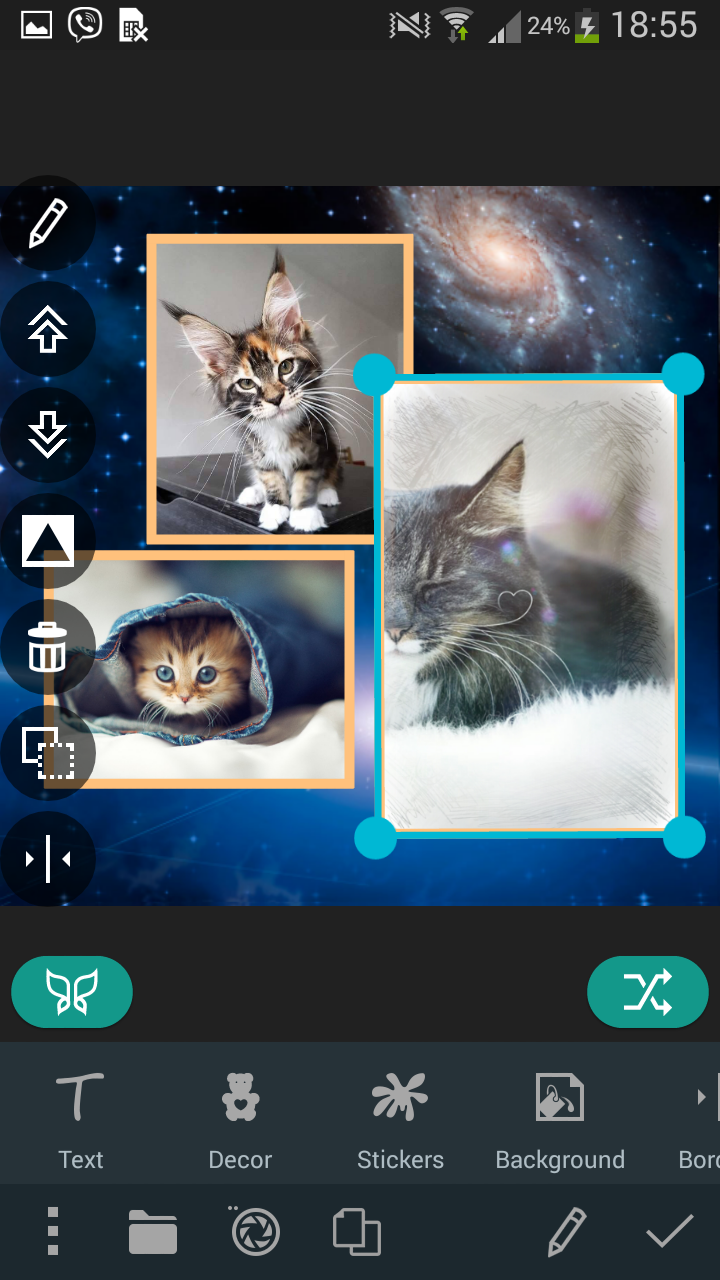
Floating panel with tools
When photos are on the background you can see several tools on the floating panel. It automatically floats at the right or left side of your collage depending on placing of your photos.

Each of these tools works with one selected (active) photo, that is with a photo which has the blue framing.You can move, enlarge or reduce the selected photo with your fingers.
To change the active photo (layer) you just should tap the photo.
Alternatively you can select Layers button
 at the central low
part of the screen.
at the central low
part of the screen.Pencil icon on the floating panel
leads you to editing window
where you can apply some changes to the selected photo (Filters, Effects,
Frames, Blends, Correction, etc.)See section How to edit a photo on collage for detailed information.
Use arrows buttons

 to choose
position of your photo (at the top or at the bottom accordingly to other photos).
to choose
position of your photo (at the top or at the bottom accordingly to other photos).The shape of a photo can be changed with Shapes button
 . You can move your photo to arrange it better in selected shape.
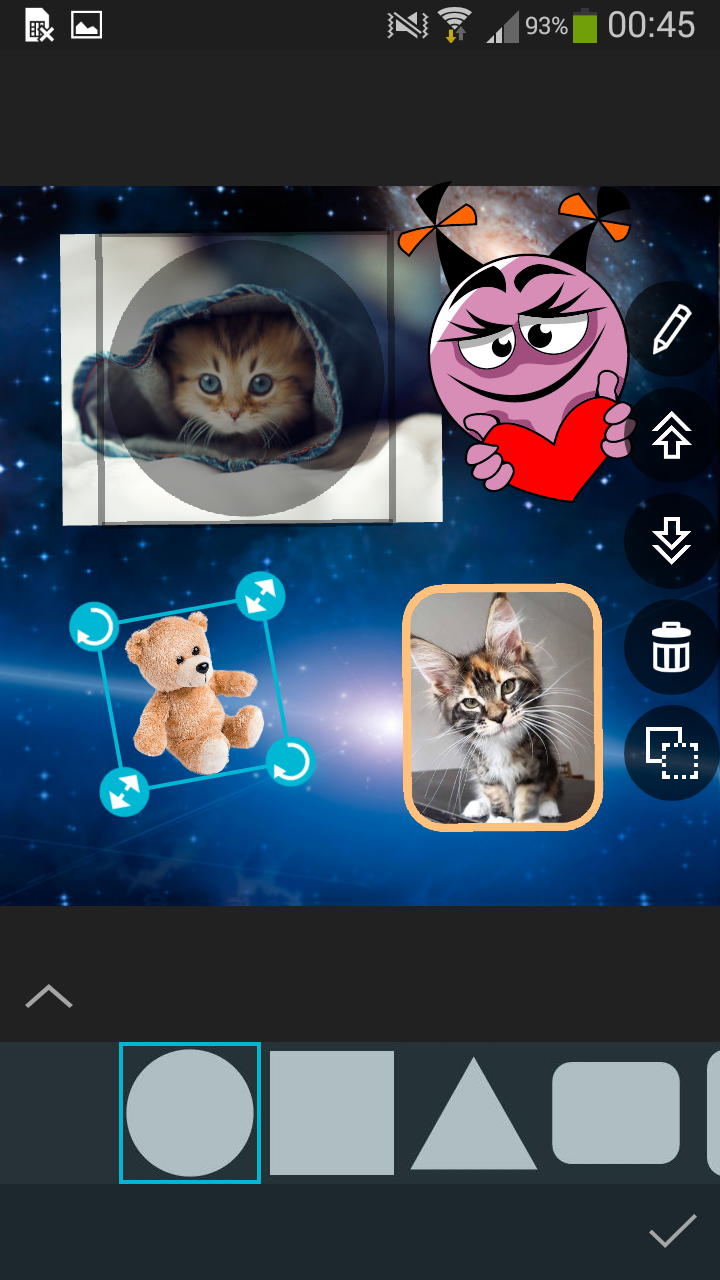
To change the shape of all photos at once you should use Templates button
 on
the main panel with options at the bottom of your collage.
on
the main panel with options at the bottom of your collage.To delete the selected photo use Bin icon
 .
.You can duplicate the selected photo using Duplication button
 .
.
To border a photo use the Border icon
.You can use resources to border a photo analogically to a manner you bordered a background. See section How to border the background for detailed information.
If you want to border all photos at once, making them similar, select Border icon on the main panel with options at the bottom of your collage.
-
How to arrange photos.
You can move your photos over background one by one placing them by your desire. You can also use Layouts button
 and select one of the existing placing
schemes.
and select one of the existing placing
schemes.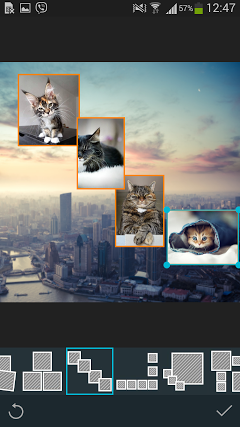
Select Discard button
 at the left lower corner of the screen
to change the place of photos in selected layout. Tap Apply button to
save your selection.
at the left lower corner of the screen
to change the place of photos in selected layout. Tap Apply button to
save your selection.Use Magic button
 to look through the variants of collage decoration which are selected randomly by the
application.
to look through the variants of collage decoration which are selected randomly by the
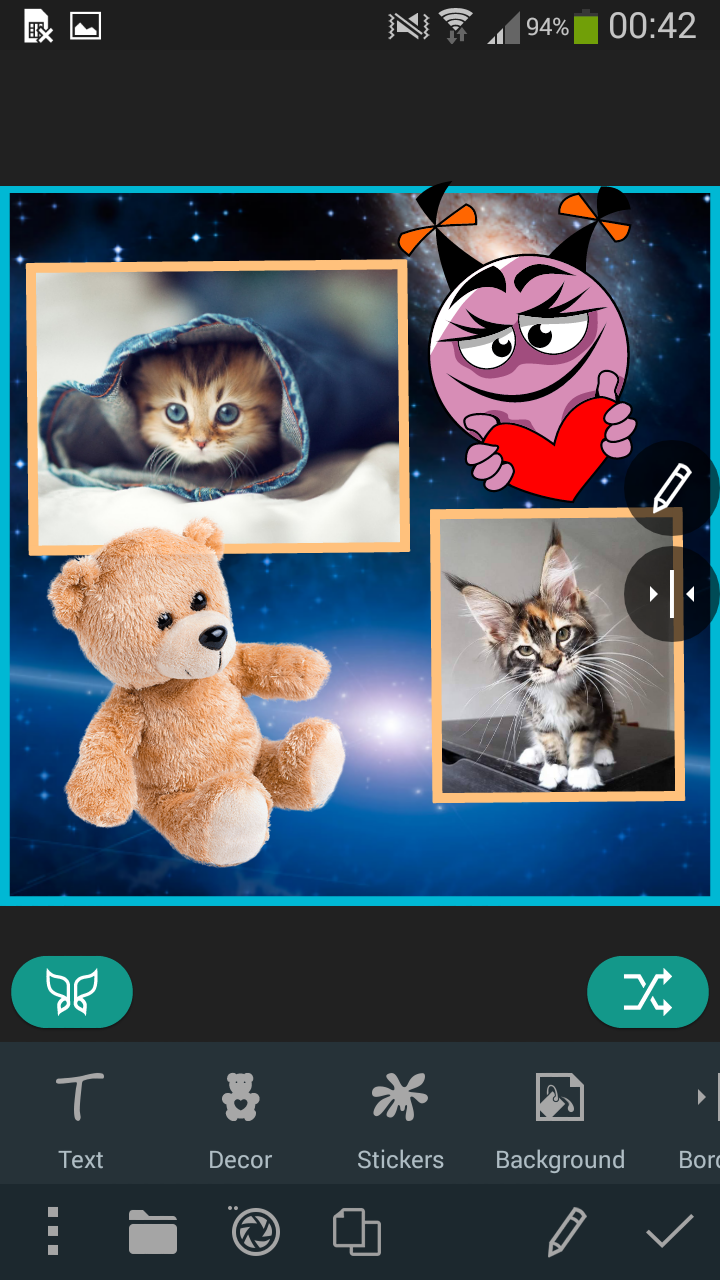
application.You can add Text, Decor and Stickers into your Collage and also change its aspect ratio using Ratio button
 .
.
Select Stickers
 or Decor
  icon
and add the needed item to you collage. Move it, align, set the opacity, reduce or enlarge
to your discretion.
icon
and add the needed item to you collage. Move it, align, set the opacity, reduce or enlarge
to your discretion.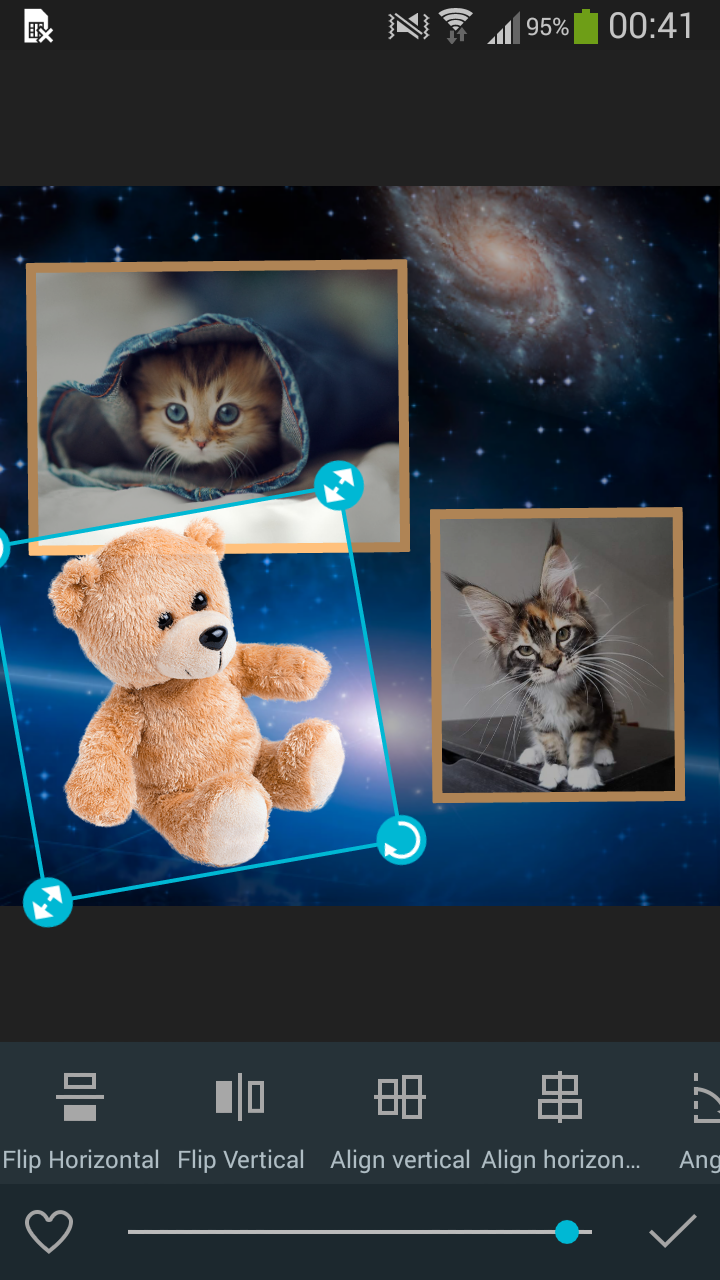
-
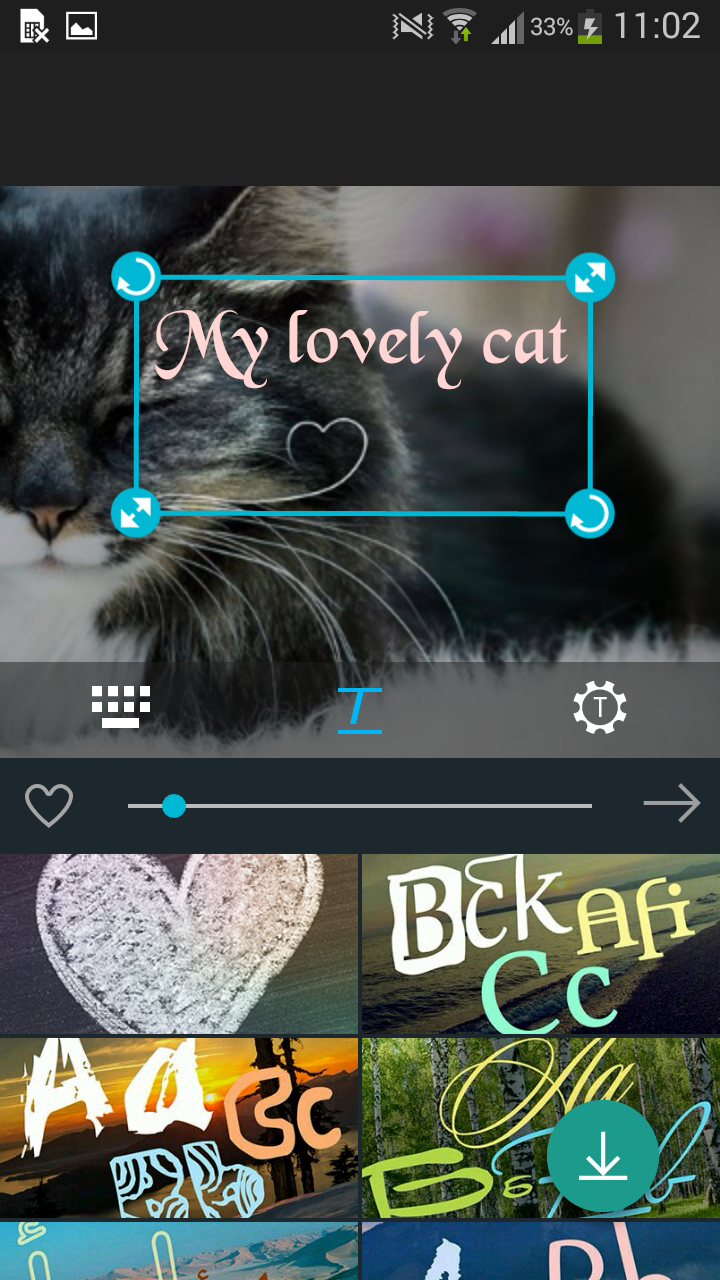
How to add Text to Collage.
Select Text icon
 on
the panel with tools and type your text. You can move, enlarge or reduce your text operating
it with fingers.
on
the panel with tools and type your text. You can move, enlarge or reduce your text operating
it with fingers. In the text editor screen you see 3 tabs with text options.

Write text on the first tab
 , then tap the forward arrow
  at the right side
of the editing square and move to another tab. Or you can simply tap on another tab to
proceed with text editing.
at the right side
of the editing square and move to another tab. Or you can simply tap on another tab to
proceed with text editing. You can look through fonts and select one of them for your text on the second tab
 .
.
To download all additional text packs use install add-ons button
 .
.
Being on this tab you can also change the text size using slider or tap Favorites icon
 to
add the font into your favorite fonts set.
to
add the font into your favorite fonts set.Later you can choose the added favorite fonts if tap the heart image
 at
the fonts selection area.
at
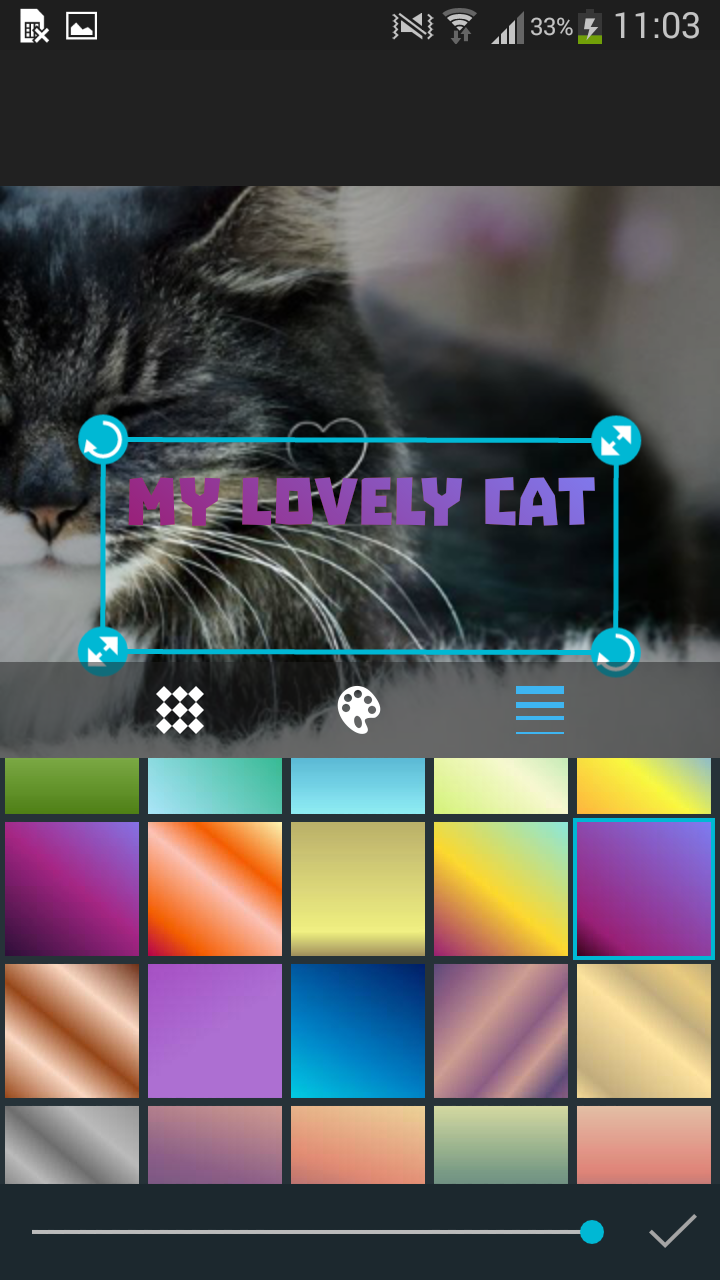
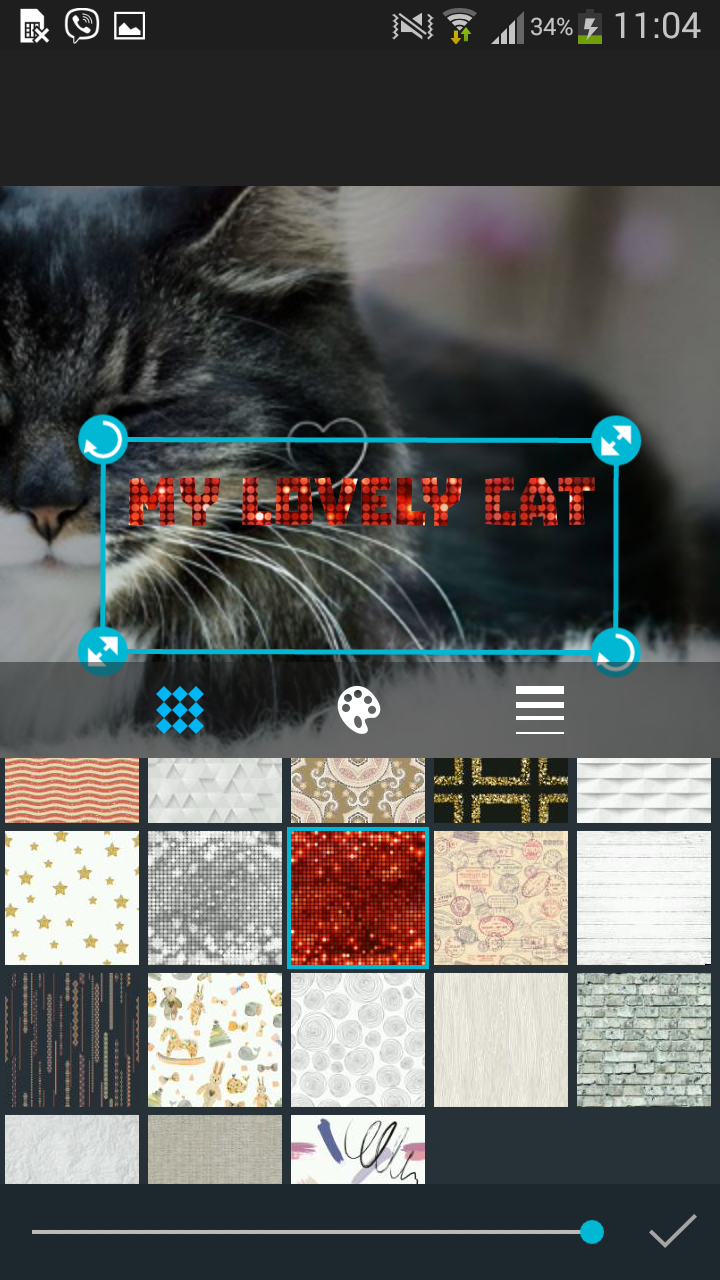
the fonts selection area.You can apply more operations to your text if tap on the third tab icon
 .Here
you can change text color , select a border or
a background
.Here
you can change text color , select a border or
a background  ,
add shadow
,
add shadow  or
glowing
or
glowing  , change
text orientation and align it
, change
text orientation and align it  .
. -
How to change Text color.
Select Fill icon
and
choose the Color, Gradient or Texture of your text.To choose the Color, Texture or Gradient use one of the corresponding icons:
, or . Use slider to change the opacity.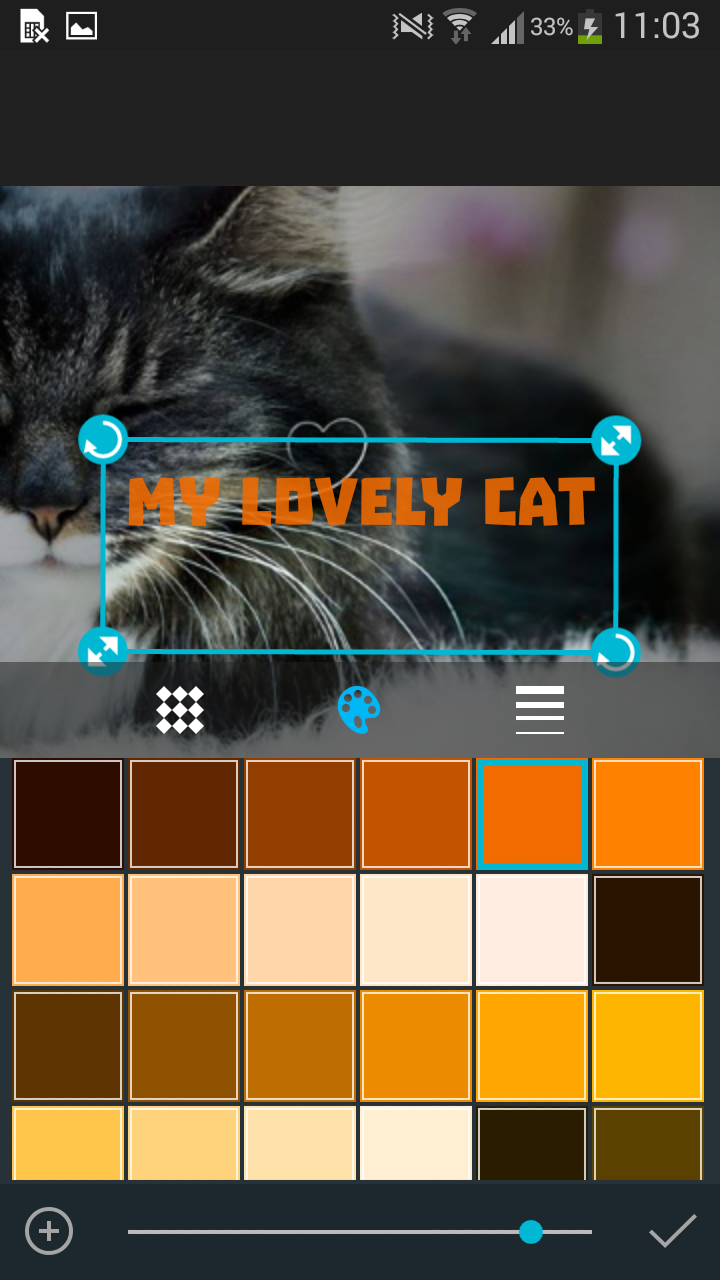
Use Background icon
to enframe your text.You can select
different shapes for your text, change color and texture using the corresponding icons:, , .
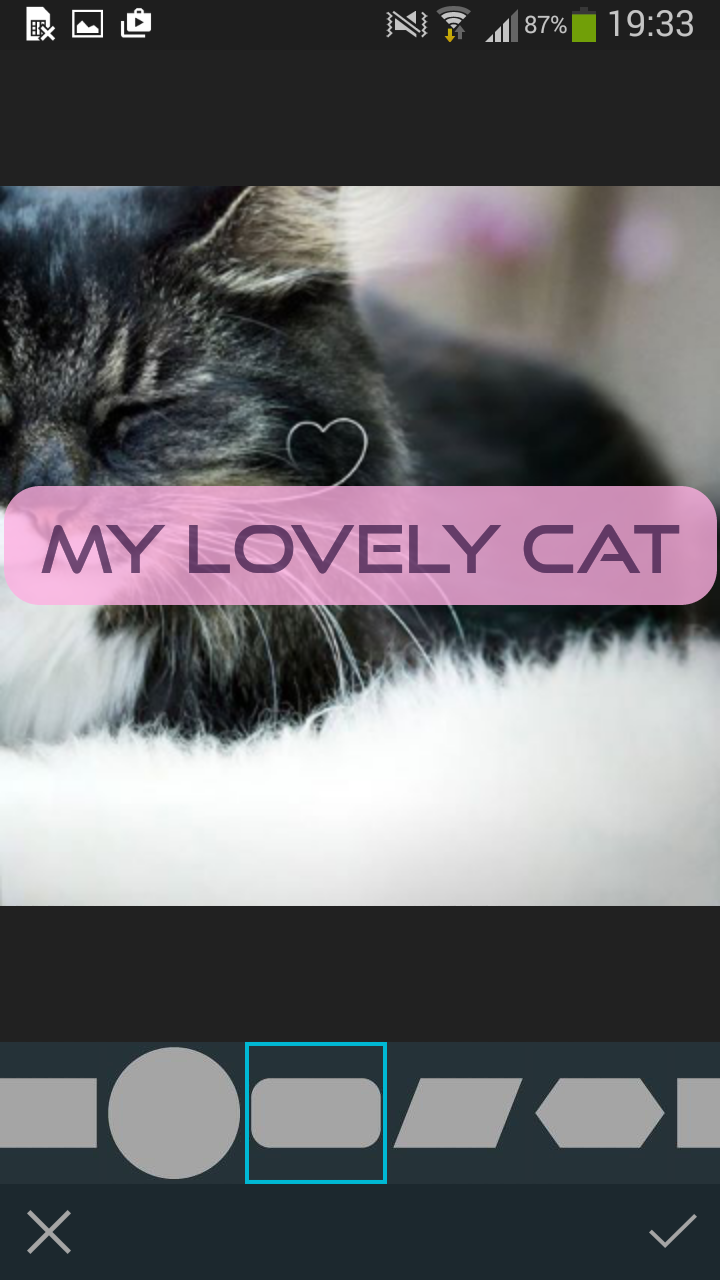
Use slider to change the background opacity and confirm your selection tapping the Apply button.
-
How to install additional backgrounds.
Select the Background icon on the panel with tools. On the first tab with textures for background
 tap
on the Add-ons button
tap
on the Add-ons button  and choose add-ons you want to install.
You can uninstall any add-on choosing the Delete button .
and choose add-ons you want to install.
You can uninstall any add-on choosing the Delete button . 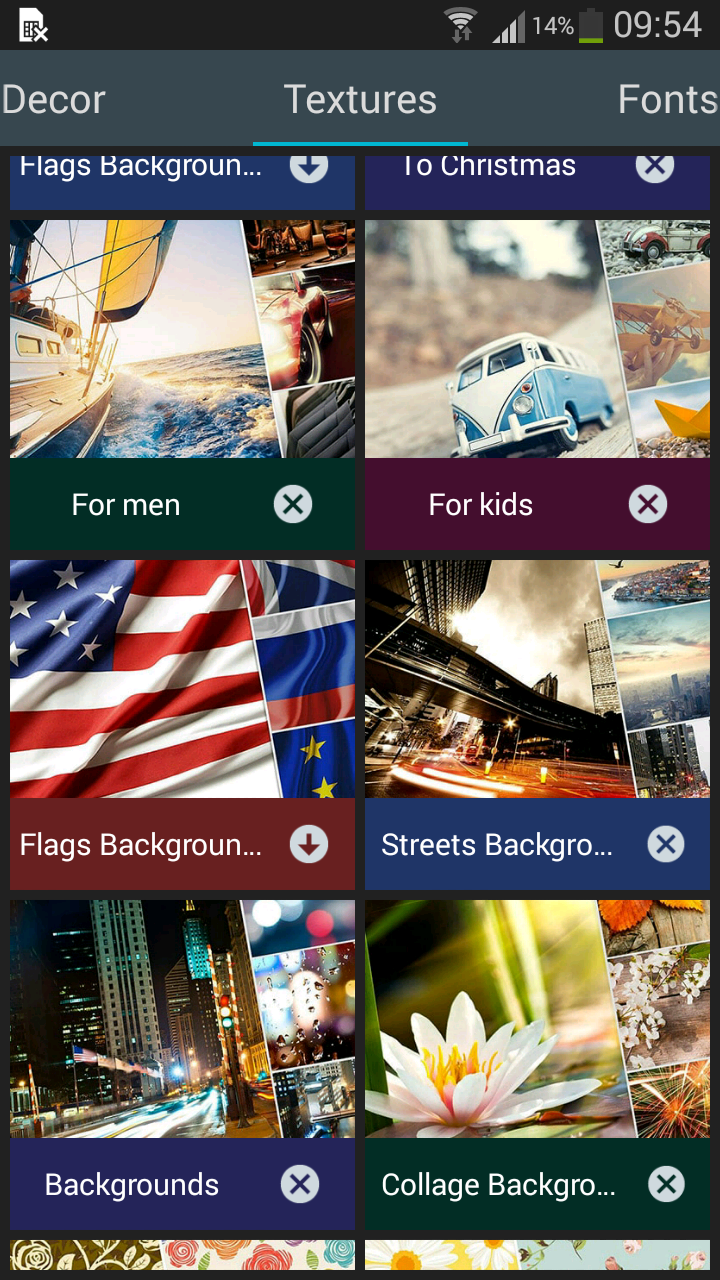
-
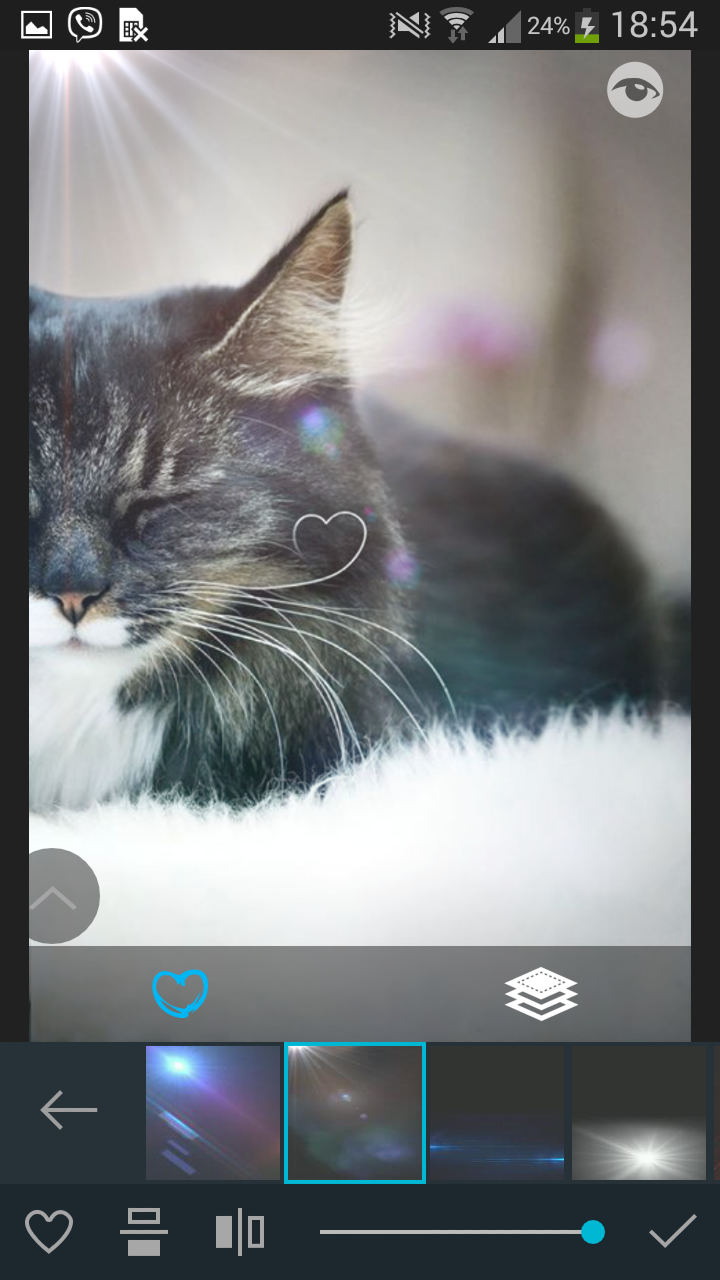
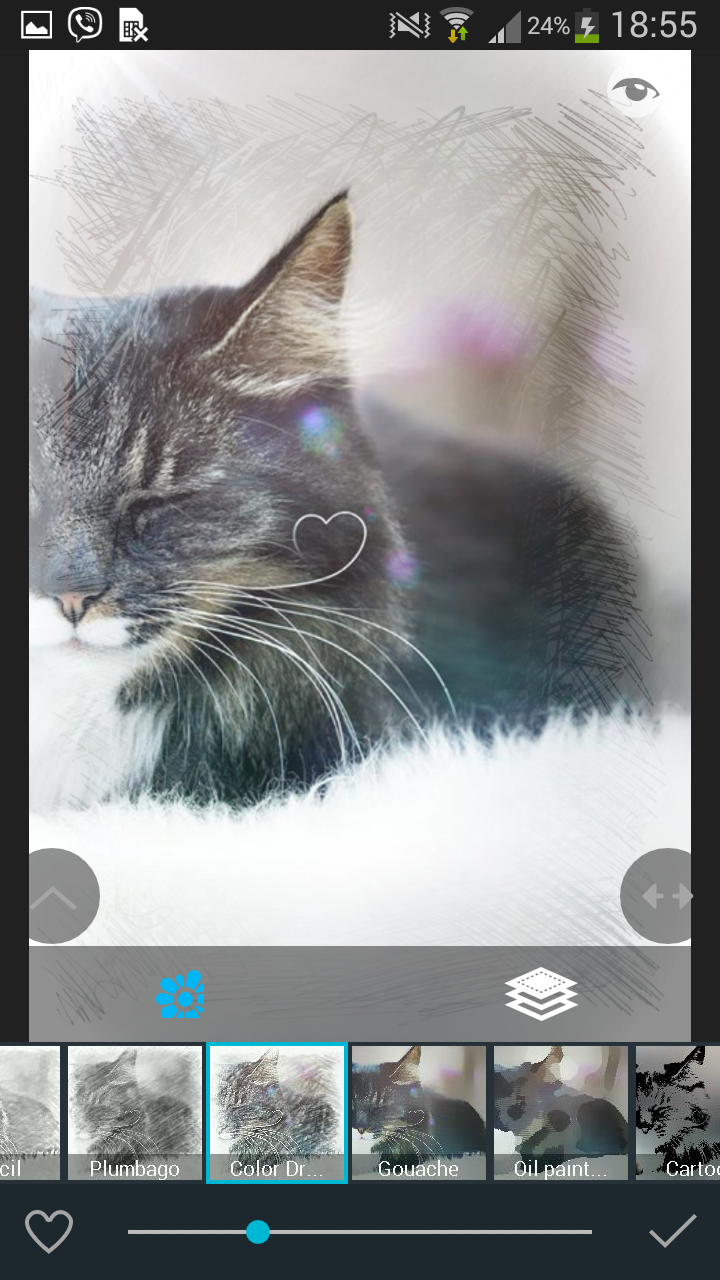
How to edit a photo on collage.
Tap on a photo you want to edit and select the pencil icon
on the floating panel.At the next screen you can edit your photo. For example tap Effects button
 , look
through available effects, choose one of them and confirm your selection with Apply
button.You can also add a filter to your photo choosing a Filter button
, look
through available effects, choose one of them and confirm your selection with Apply
button.You can also add a filter to your photo choosing a Filter button  .
.
Save changes you’ve done choosing Small, Normal or Original size for your photo and tapping on Save button. After this you return to Collage and your photo is edited now.
-
Magic button for Collage+.
If you want to create a collage quickly and easily with minimum of actions, use Collage+ button
 at the
left side under your collage. You will pass to Collage+ application which suggests you to
create a collage or a photo album. Here you should just select ready theme and style for
photos you’ve already selected for your collage. Add some decor, stickers or text or
edit your photo if you like.
at the
left side under your collage. You will pass to Collage+ application which suggests you to
create a collage or a photo album. Here you should just select ready theme and style for
photos you’ve already selected for your collage. Add some decor, stickers or text or
edit your photo if you like.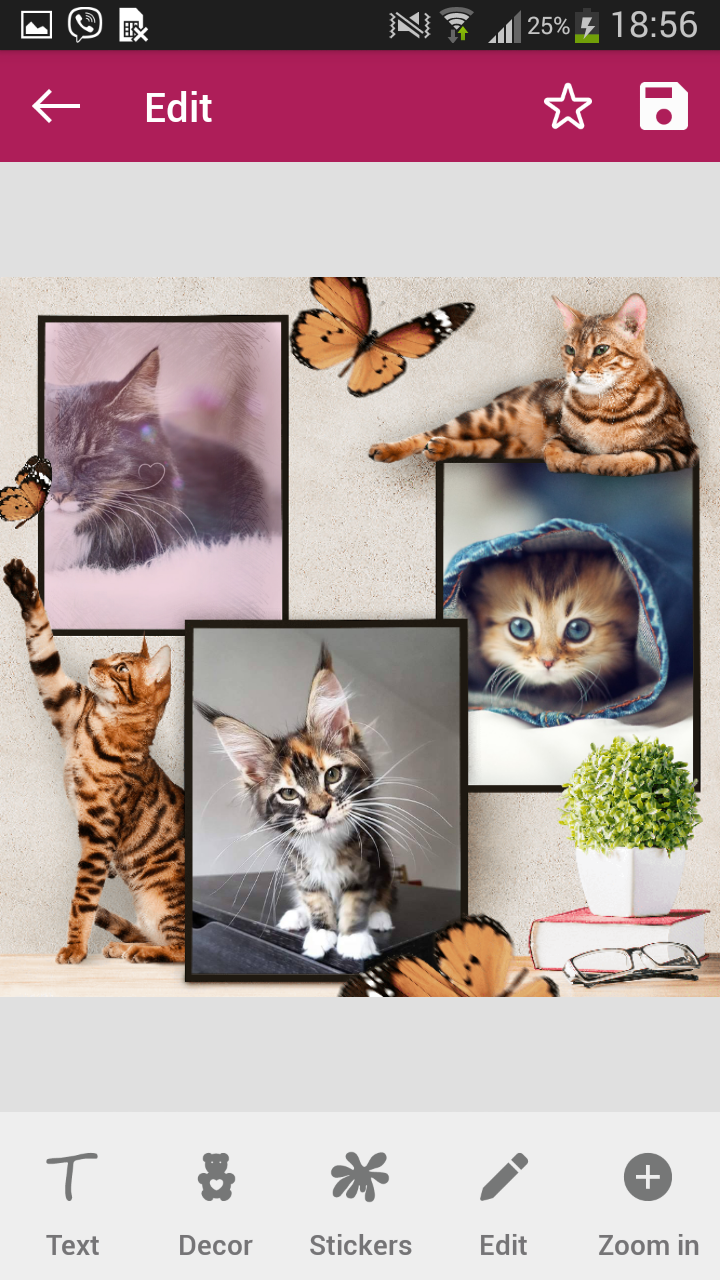
Your collage is ready. Save it tapping Apply button
 .
.